Part 2 of 2 Finishing your Sashiko placemat
Hi, it's Jun again. We finished the front of your Sashiko placemat in the previous post. Now the time to finish your Sashiko placemat.
Previous ---> How to make your Sashiko front piece
What you need :


Hi, it's Jun again. We finished the front of your Sashiko placemat in the previous post. Now the time to finish your Sashiko placemat.
Previous ---> How to make your Sashiko front piece
What you need :
- The front piece of your Sashiko placemat
- Iron-on fusible interface 13 inch x 19 inch ( 33 cm x 48 cm ) Optional
- 13 inch x 19 inch ( 33 cm x 48 cm ) back fabric
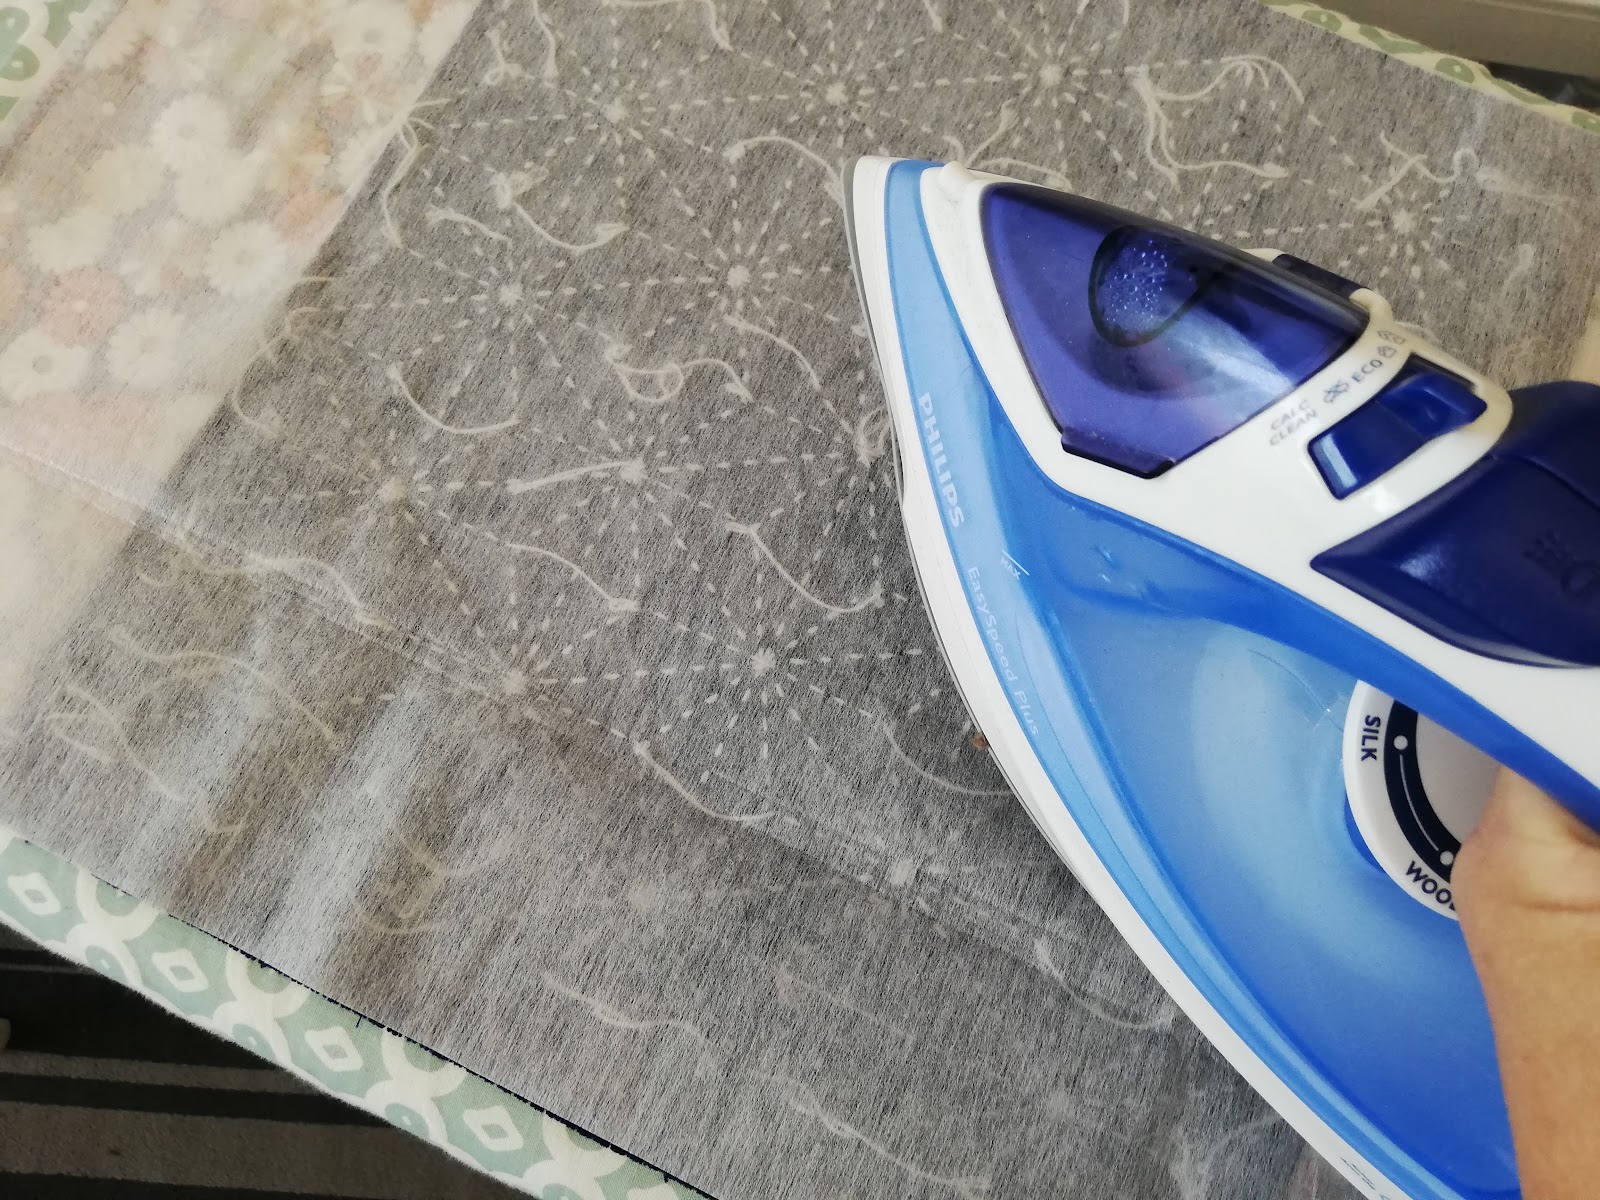
1. (Optional) Attach the interface to the Sashiko front piece. Put the sticky side (sparkling pieces and bumps) of interface on the wrong side of the Sashiko piece. Iron using medium heat with steam.
The interface makes your placemat crispy and stable. But it's optional.
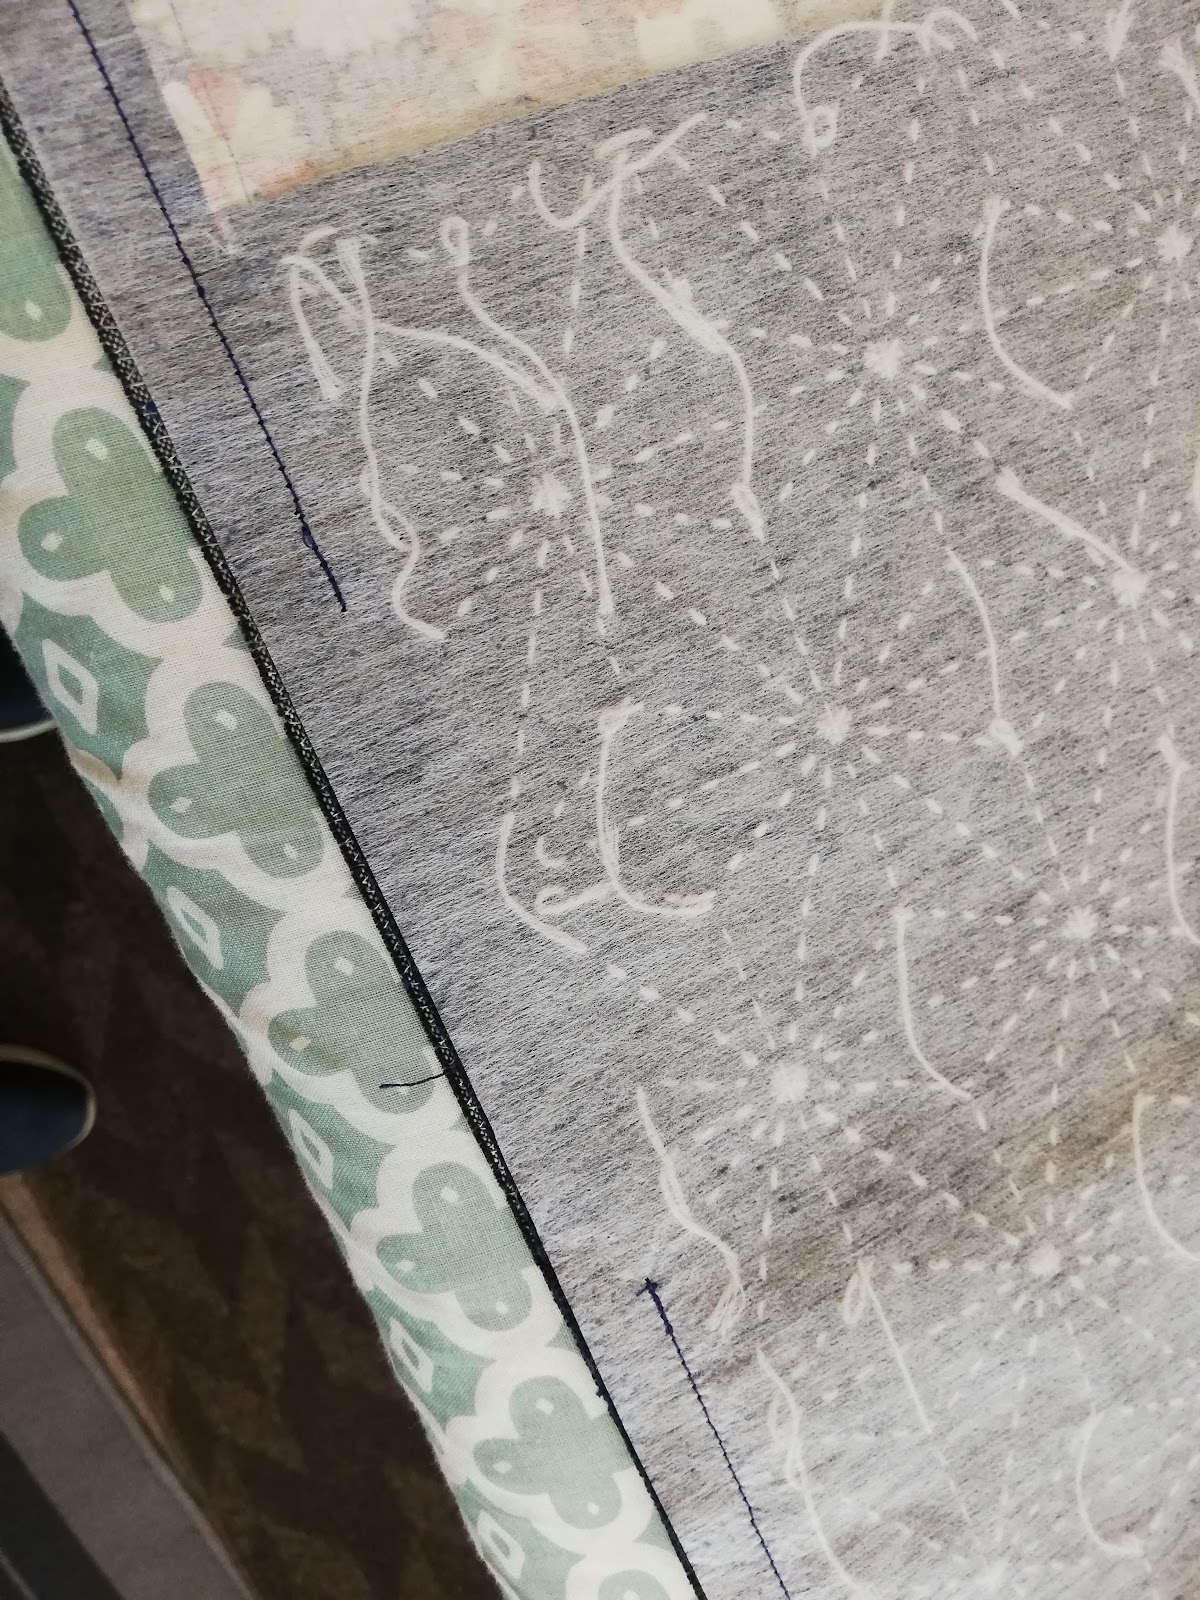
2. Place the Sashiko piece and the back fabric, right sides together.
3. Sew around the edges with a 1/2 inch (0.5 cm) seam. Make sure to leave a 10 cm opening so that you can turn your placemat the right way out.
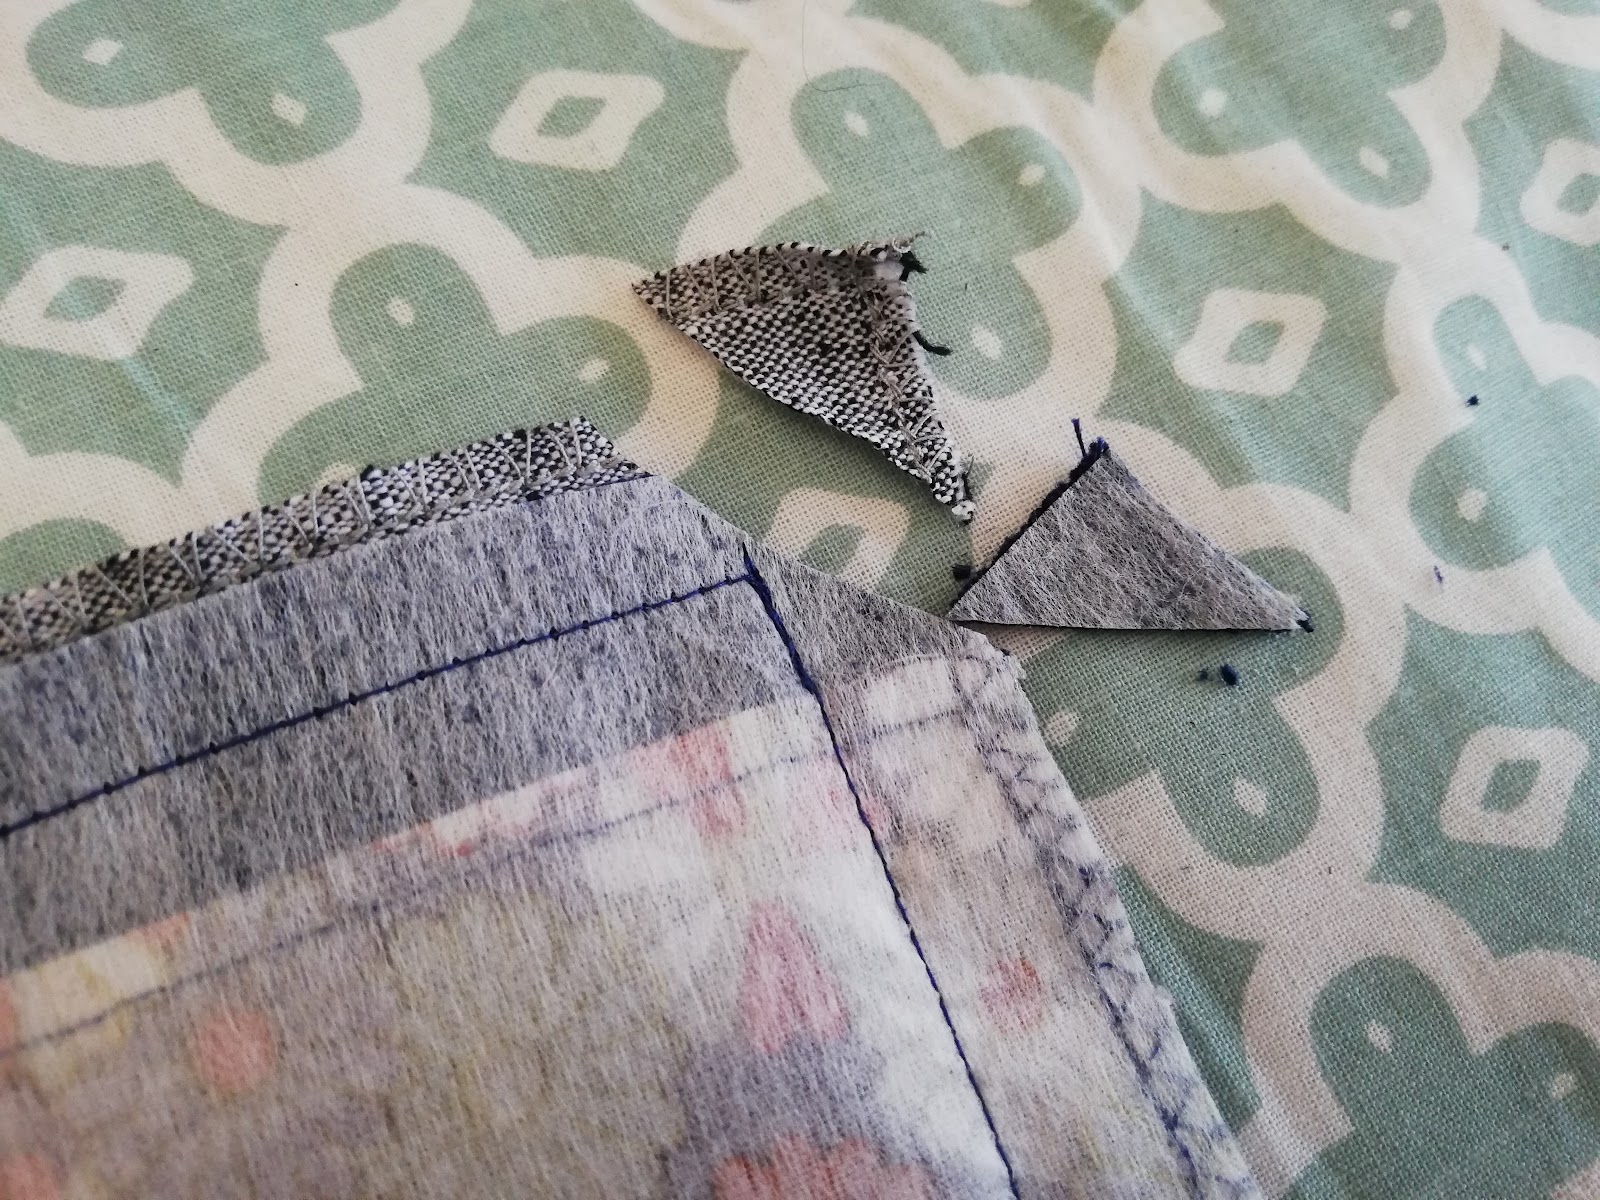
4. Snip each corner of the placemat.
5. Turn the edges along the opening in line with the seam and iron. This will help you when you turn your placemat out the right way.
6. Turn your placemat right side out. Make sure to push out all of your corners.
7. Hand stitch to close the opening.
Now your Sashiko placemat is finished! Congrats!!

I am going to make more "How-to" with you Sashiko pieces. Wish me luck! Jun B xx
Comments
Post a Comment